
Replacing the Wood Floor Under The Kitchen Sink
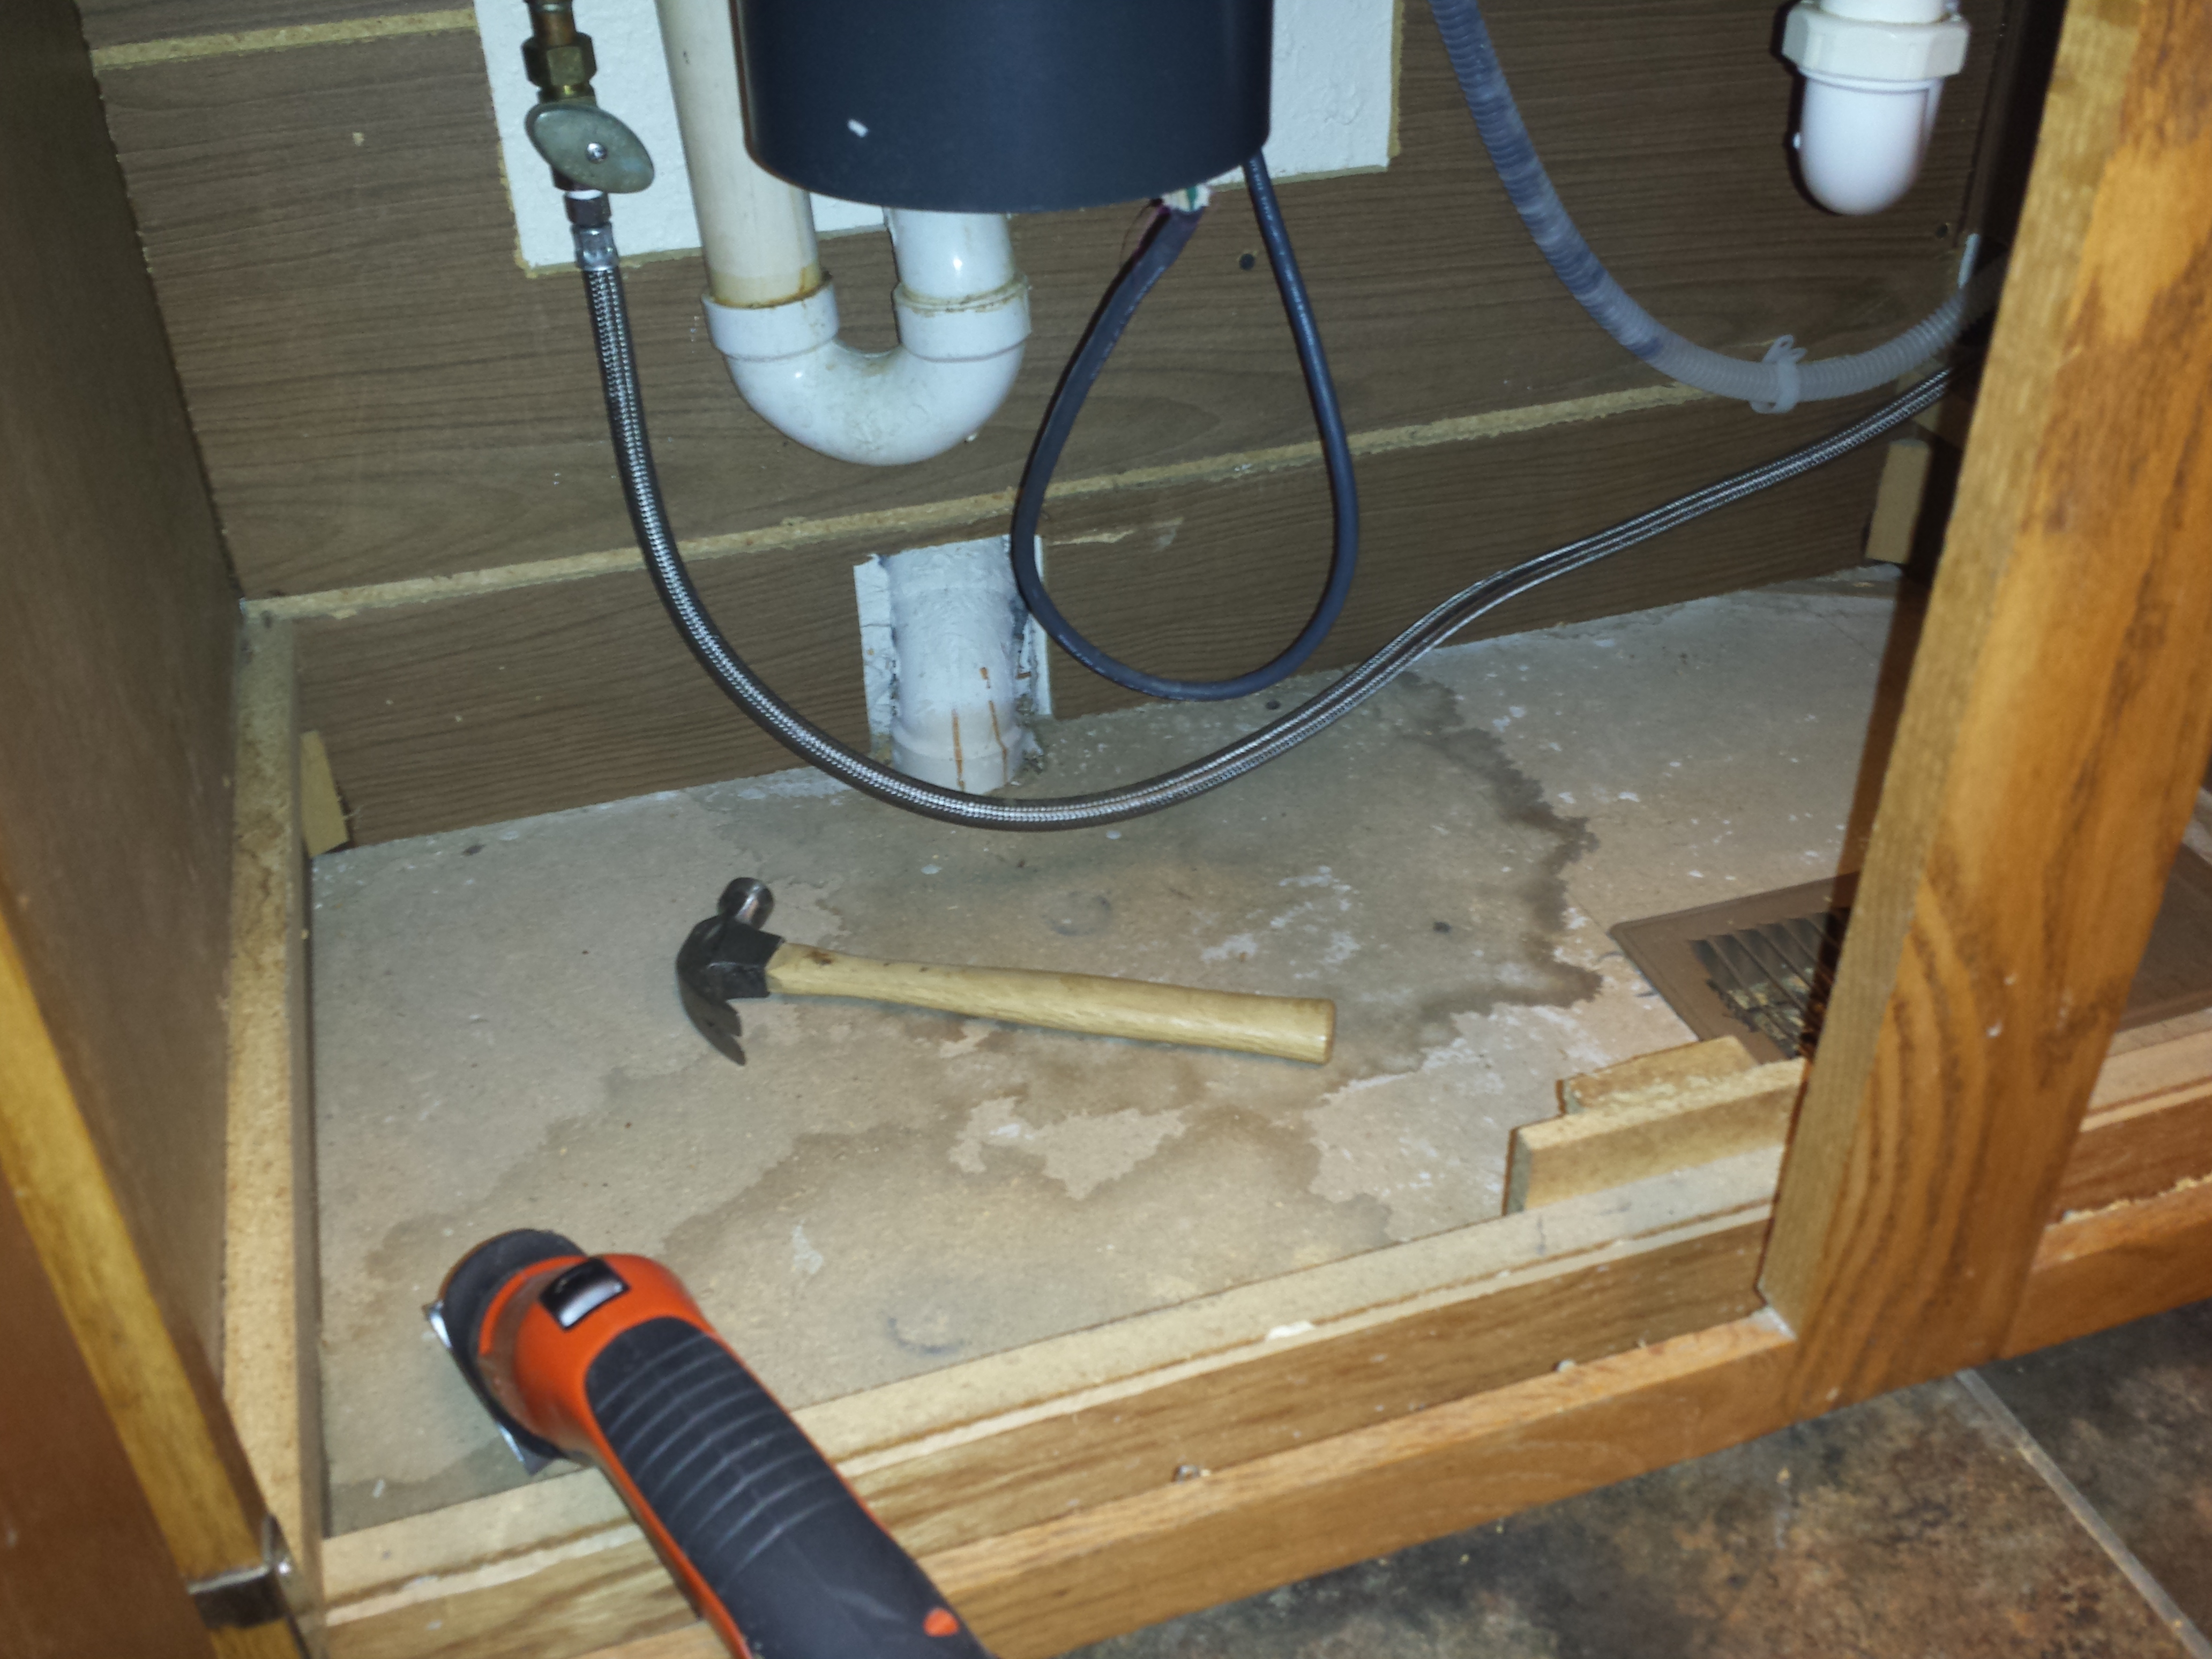
If you saw my post last week about replacing a Garbage Disposal than you might have suspected that the problem was bigger. Our disposal had been leaking for some time before we noticed and the leak had destroyed all the floor of that kitchen sink cabinet. This was one of those, “I can figure this out” type of repairs.
I had to start by ripping out all the bad, and rotted wood. Some care has to be exercised in this process to make sure that the slots in which that wood sits, and it’s other supports remain strong and in tact for the replacement board. I used a little saw to make it easier and faster. A hammer and some kids would also go a long way to having some good fun.
 Next, make sure the “slots” or small shelf like inserts where the board rests are clean of debris, glue, staples, or nails. Take advantage of this time to also do some deep cleaning in that whole cabinet and floor as it is so rare you have this kind of access to the space.
We also had some color disfiguration and had some concerns about mold. We purchased a Mold killer spray from Home Depot and gave the floor a strong cleaning and several coats of the spray.
Measure very carefully all your dimensions. Note that the space may not be a perfect square so take two to three measurements per side so you have the best picture. Also consider the height or thickness of the wood that will fit. If your cabinet is like mine there is a maximum height the wood can be to ensure it fits properly into the little slots on the back. 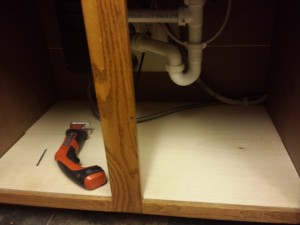 You cannot buy a single piece of wood as there is unlikely anyway to fit it into the space. Instead you will have to buy two pieces of wood that site side by side.
Either apply a stain or spray your wood with a good sealant that will protect from future moisture. Fit it in and you are good to go.