
I’m not generally a very handy guy but I recently decided that I wanted to build something for my daughter. Since she needed a toy box anyway and a square cube sounded like something I could deal with I moved forward with the toy box plan.
Drawing the Plan
It always helps me to visualize the end goal. I drew out the exact design ahead of time. It is really important that you include the width of the actual wood itself since this can throw off your actual dimensions. After getting the box drawn I built a shopping list of actual pieces of wood for the box.
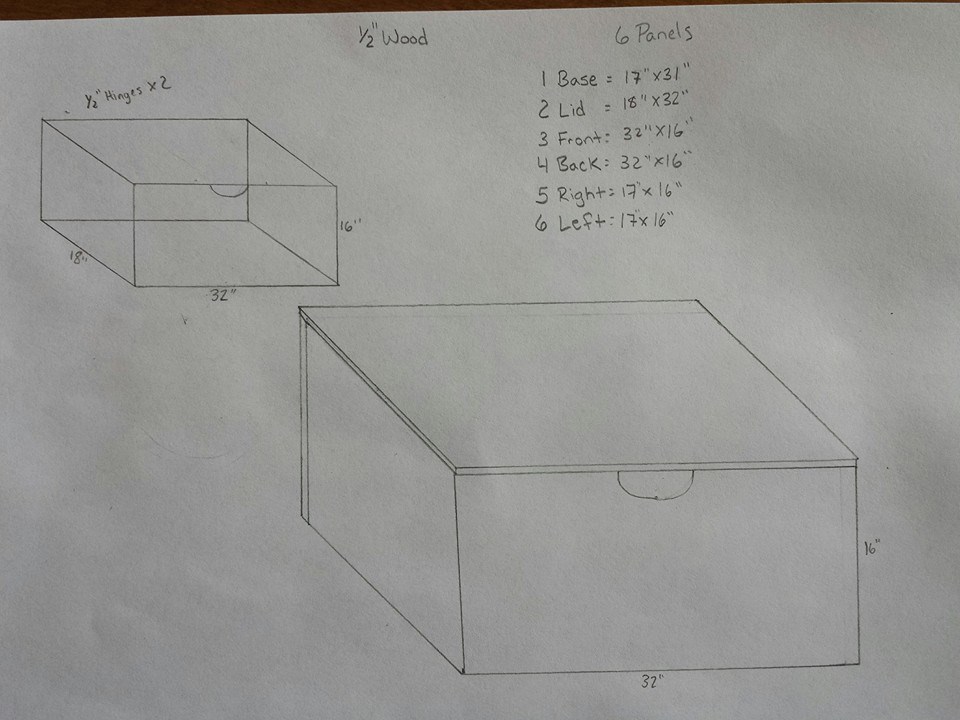
This was an early version of the design… had a few overhauls after this but it gives you an idea.
Buying the Wood
 I took someone to the store with me who is a little more practiced than I am. I need all the backup I can get. Bring your tape measure with you to the store… I learned that they lie about dimensions. One inch wood is more often 5/8 or 7/8 and those little differences can really screw up the master plan. Also, depending on what wood is available you may want to tweak your drawing/plan so as to eliminate total cuts. For example, I had planned on my toy box being 18 inches deep but the wood at the lumber store was pre-cut to 17 inches by 36 inches. I saved a lot of money and had to do less cuts by adjusting my plans from 18 inches to 17 inches.
Making the Cuts
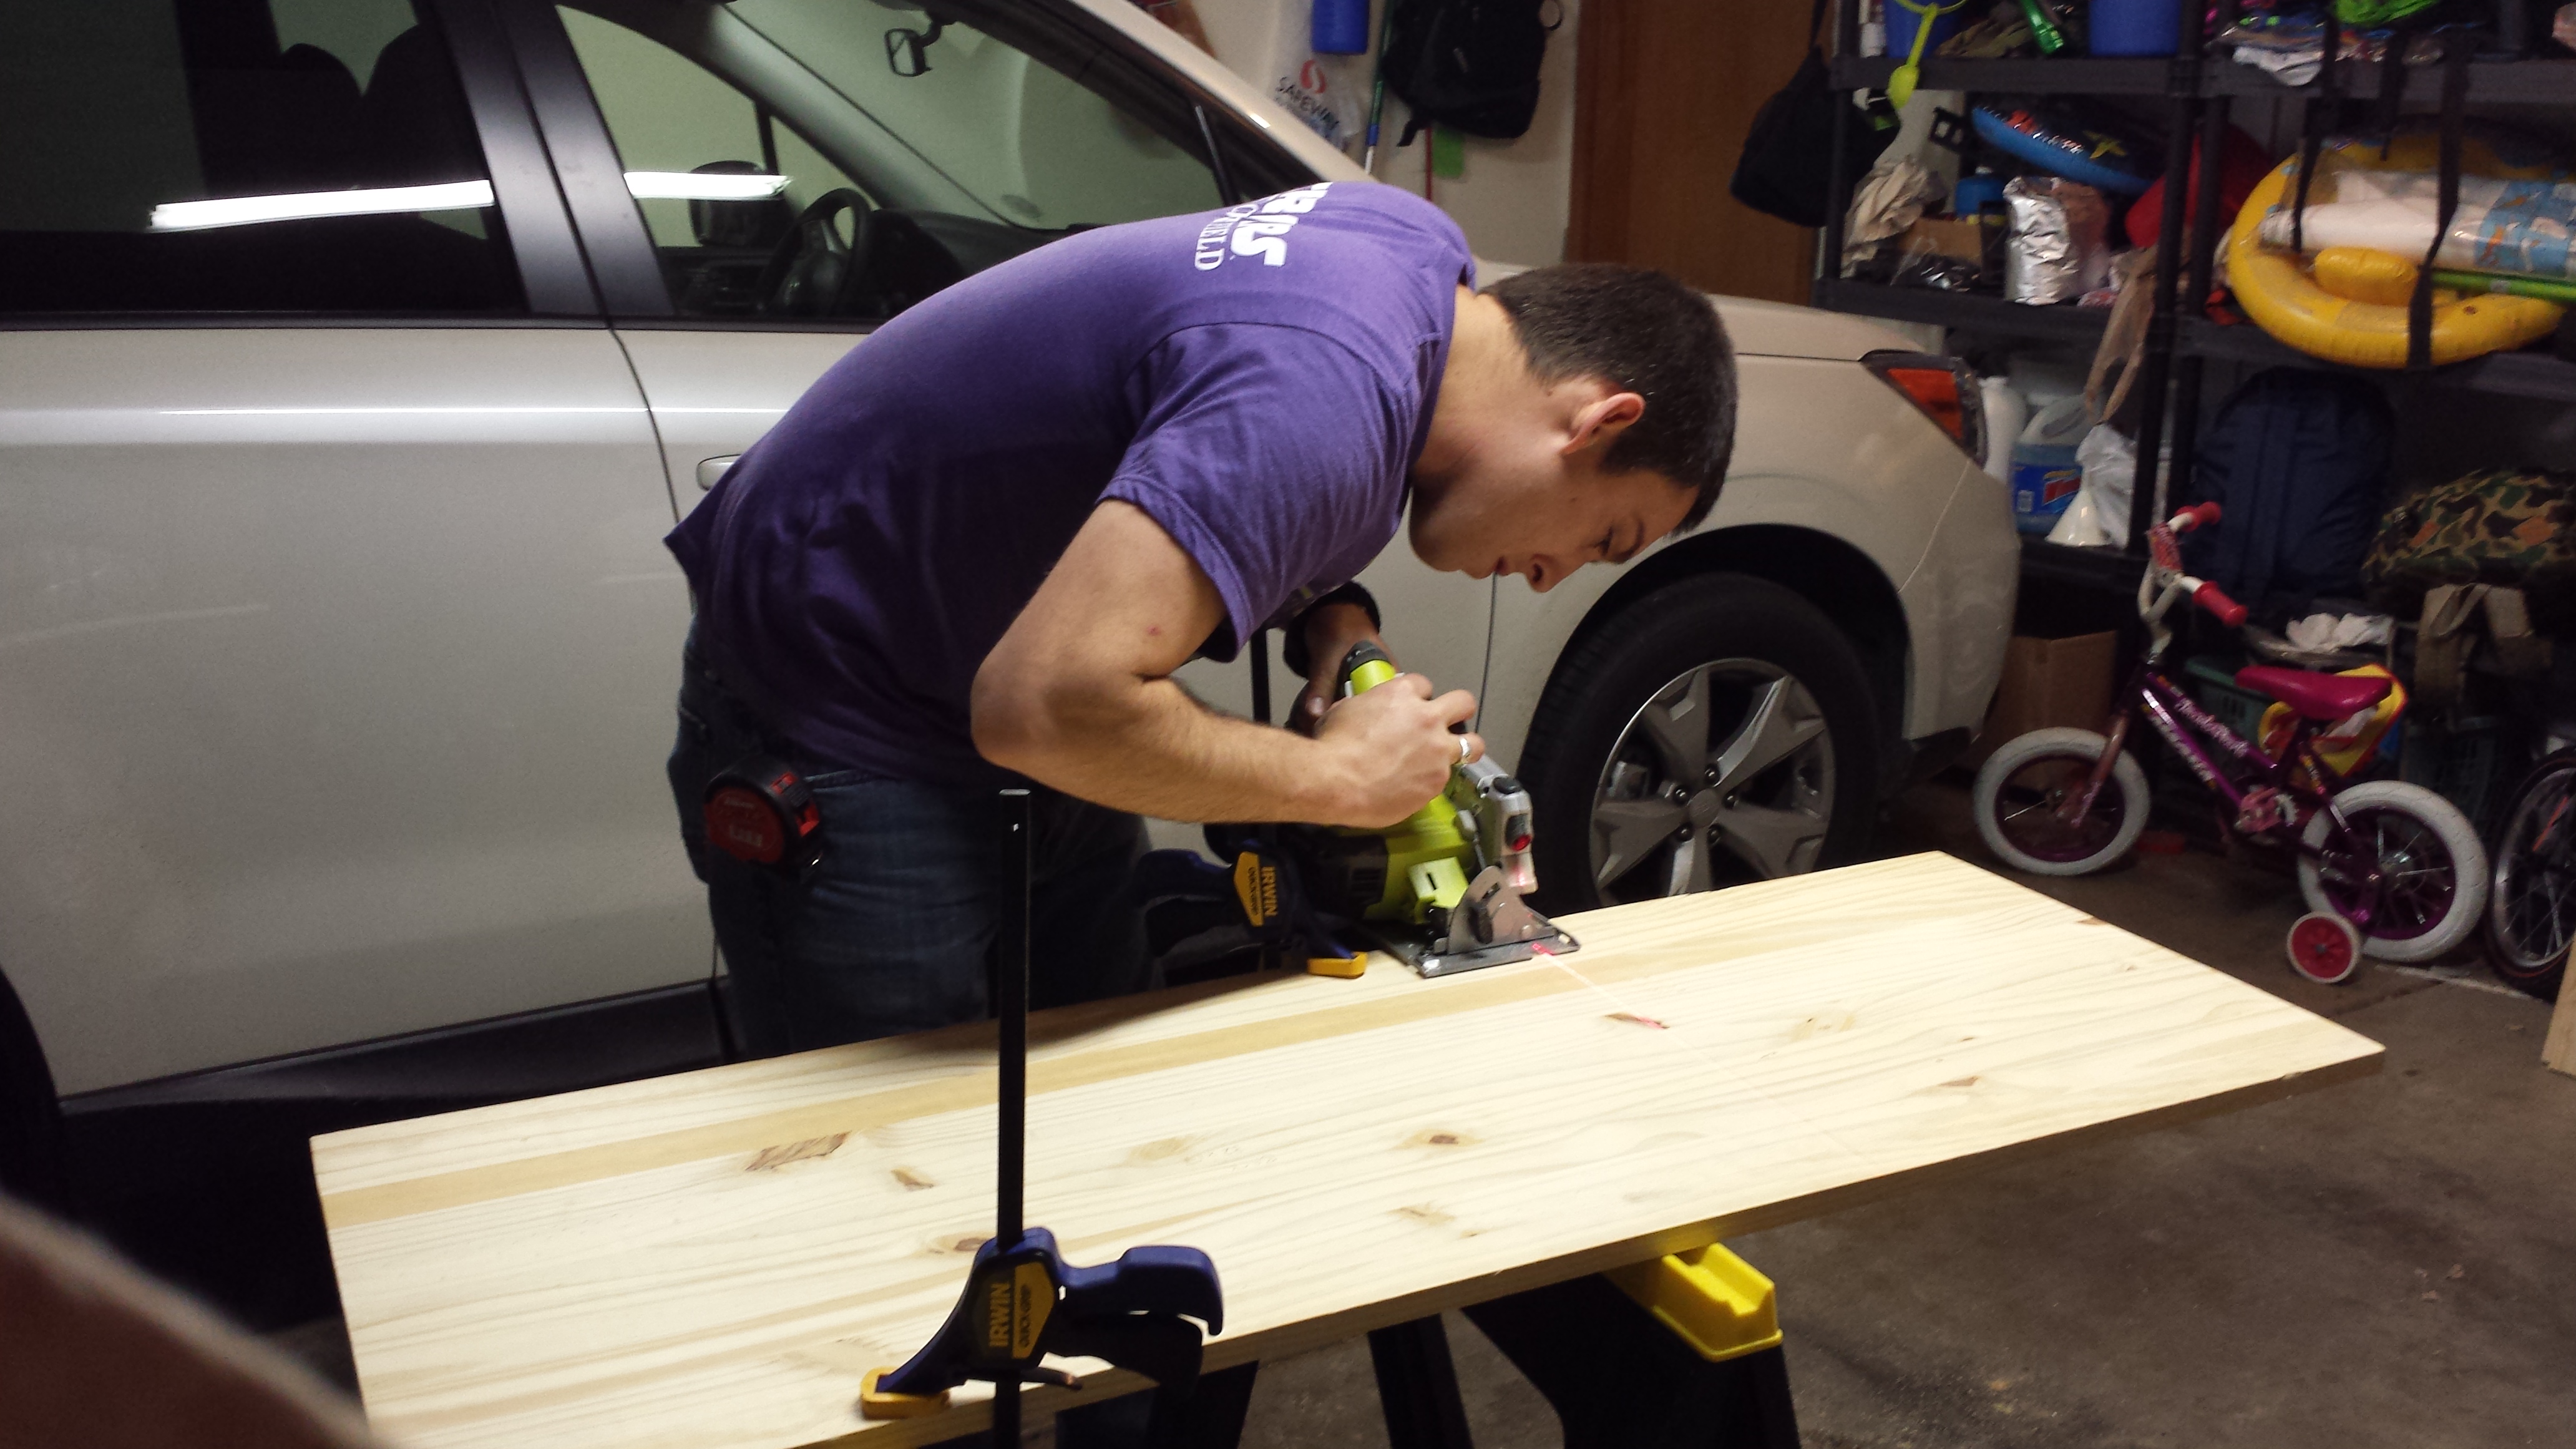
Why wasn’t I wearing safety eye ware?
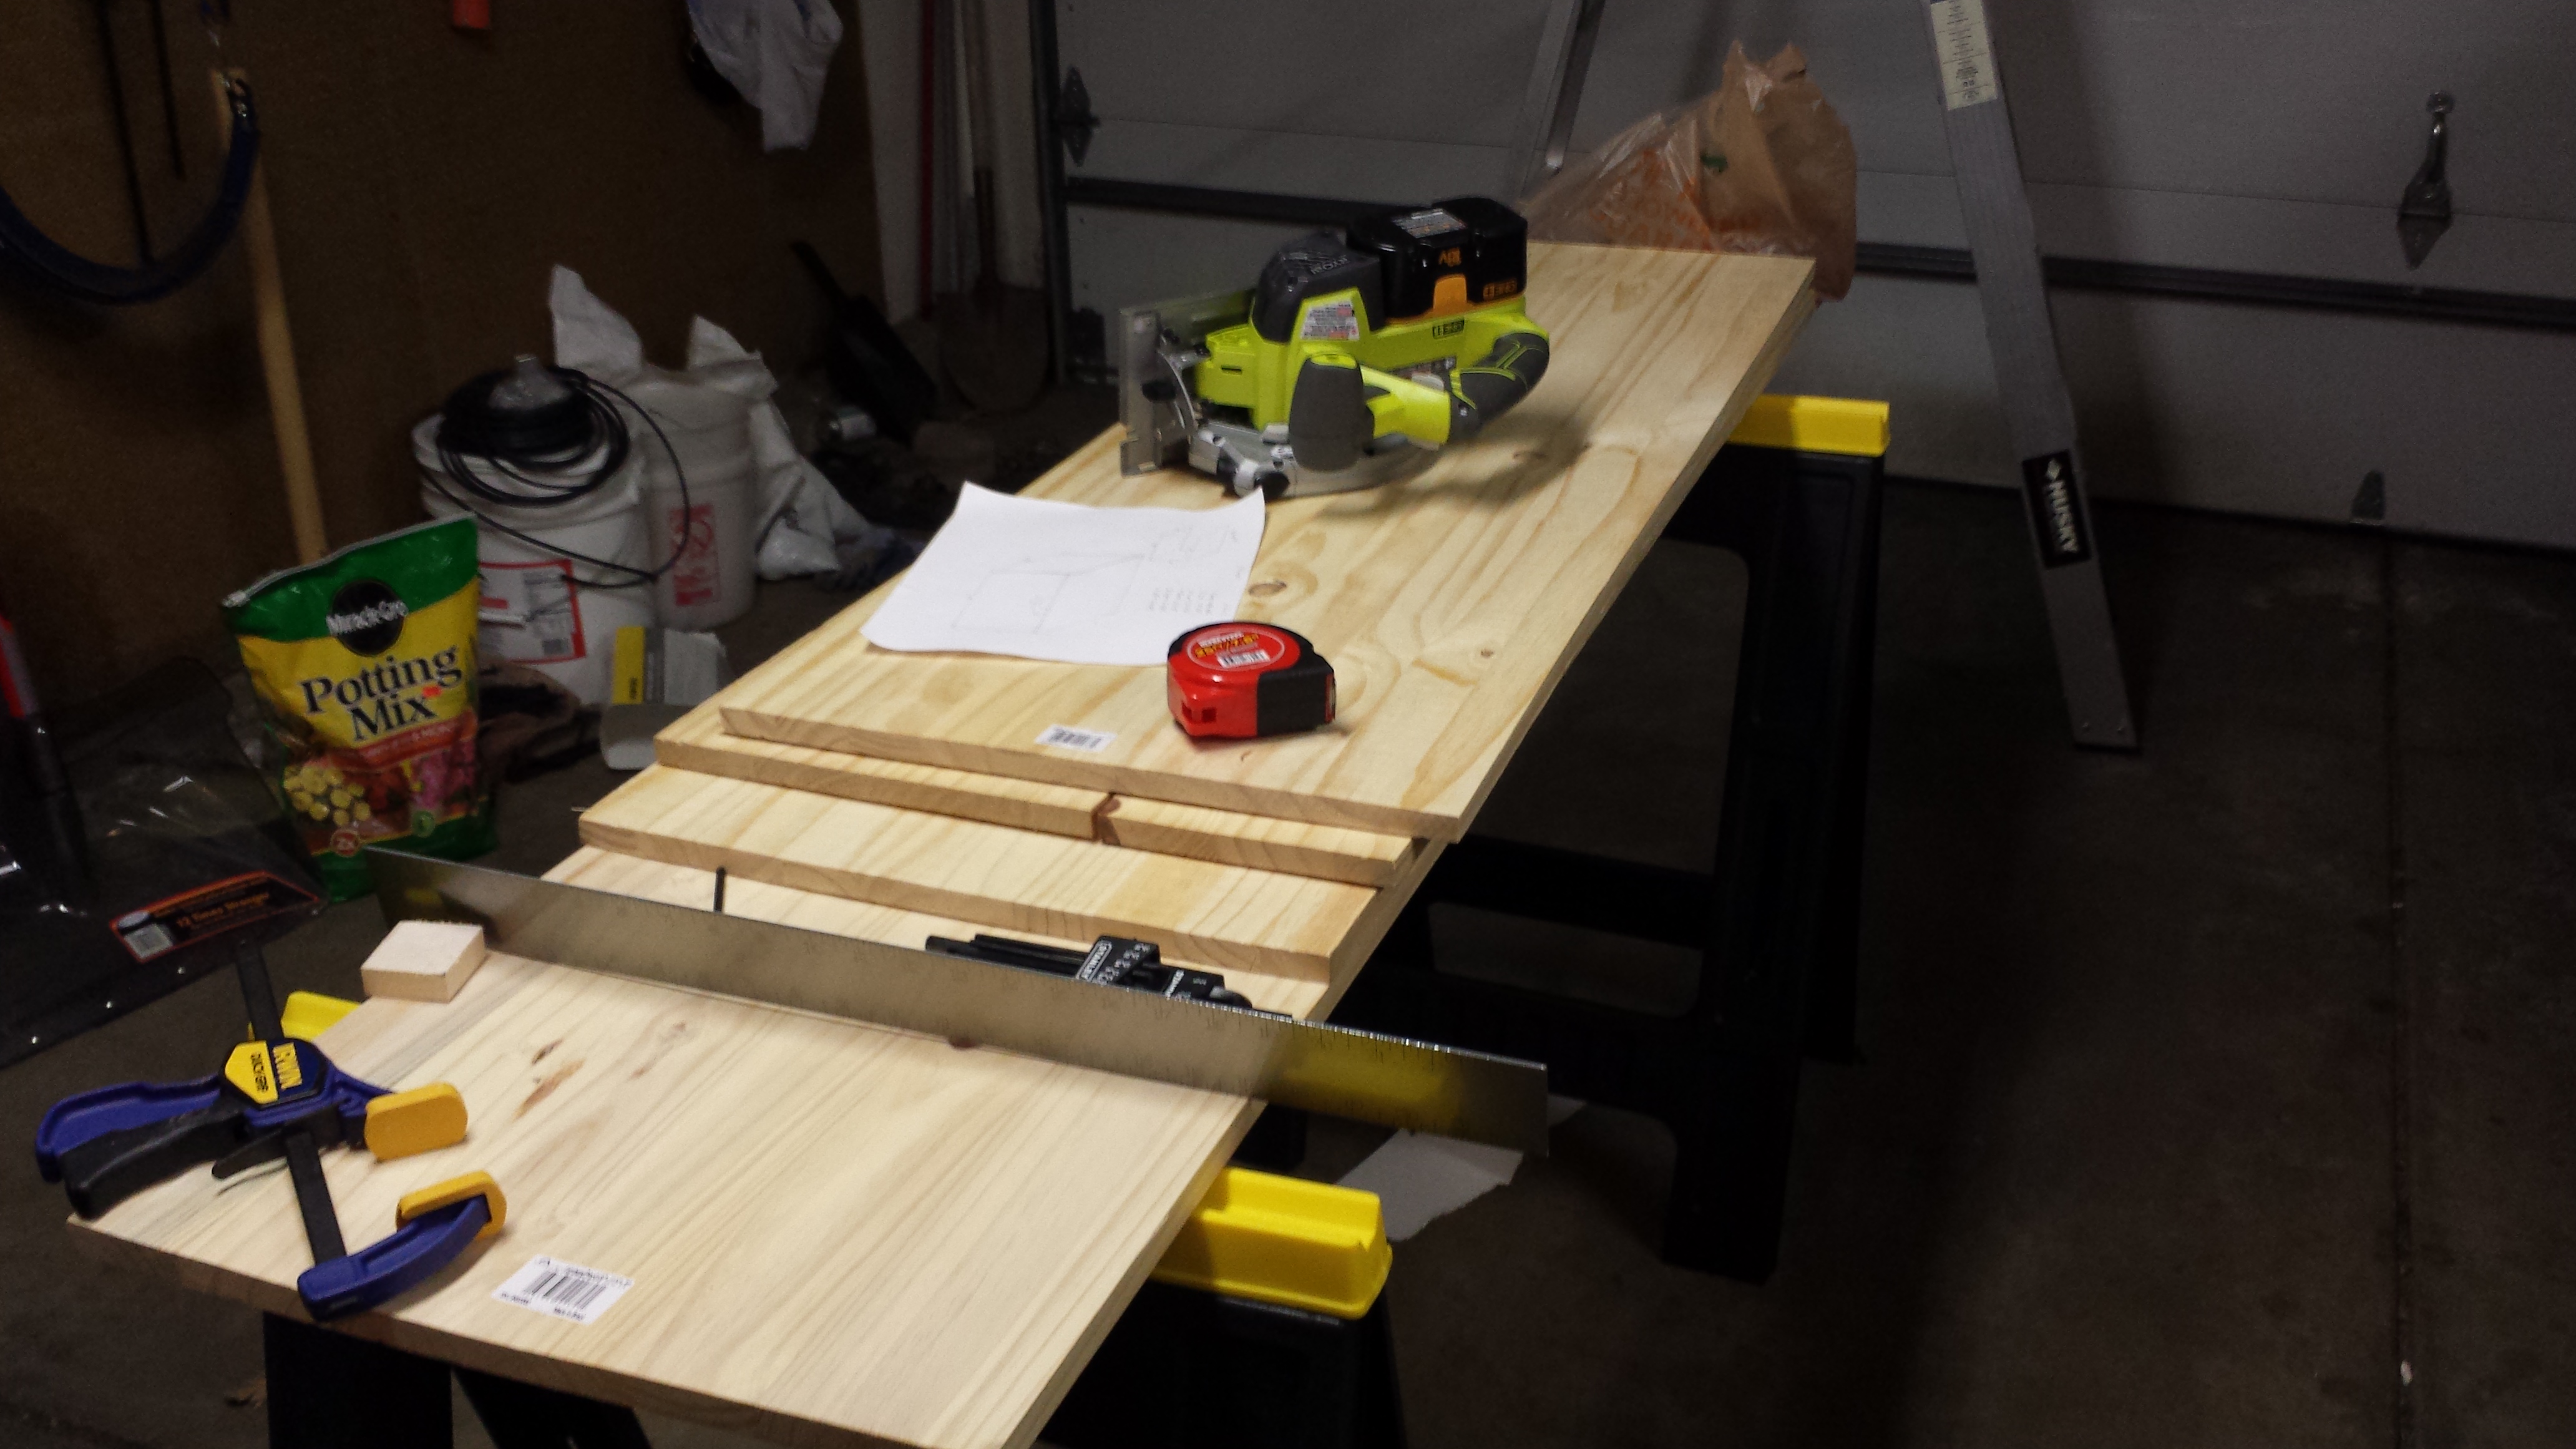
I followed the old adage of measure 12 times and cut once because I really don’t trust myself. I confirmed my drawing a few more times to look for any errors. Then I reconfirmed the dimensions of each piece of the box. Then I mapped out each piece with pencil and labeled the pieces with names to be sure I wasn’t missing anything. Then I cut.
Assembly
I used 2 inch wood screws… because my friend told me too. Worked fine. I pre-drilled every hole to make it a little easier. They key was making sure that everything was lined up perfectly well and square. There were a few places where my cuts had not been perfectly straight and that left me with slight gaps during assembly. The screws suck up most of those gaps but there were a few that had to be there. I went back with wood putty and filled in these gaps and put the putty over the screws.
Paint
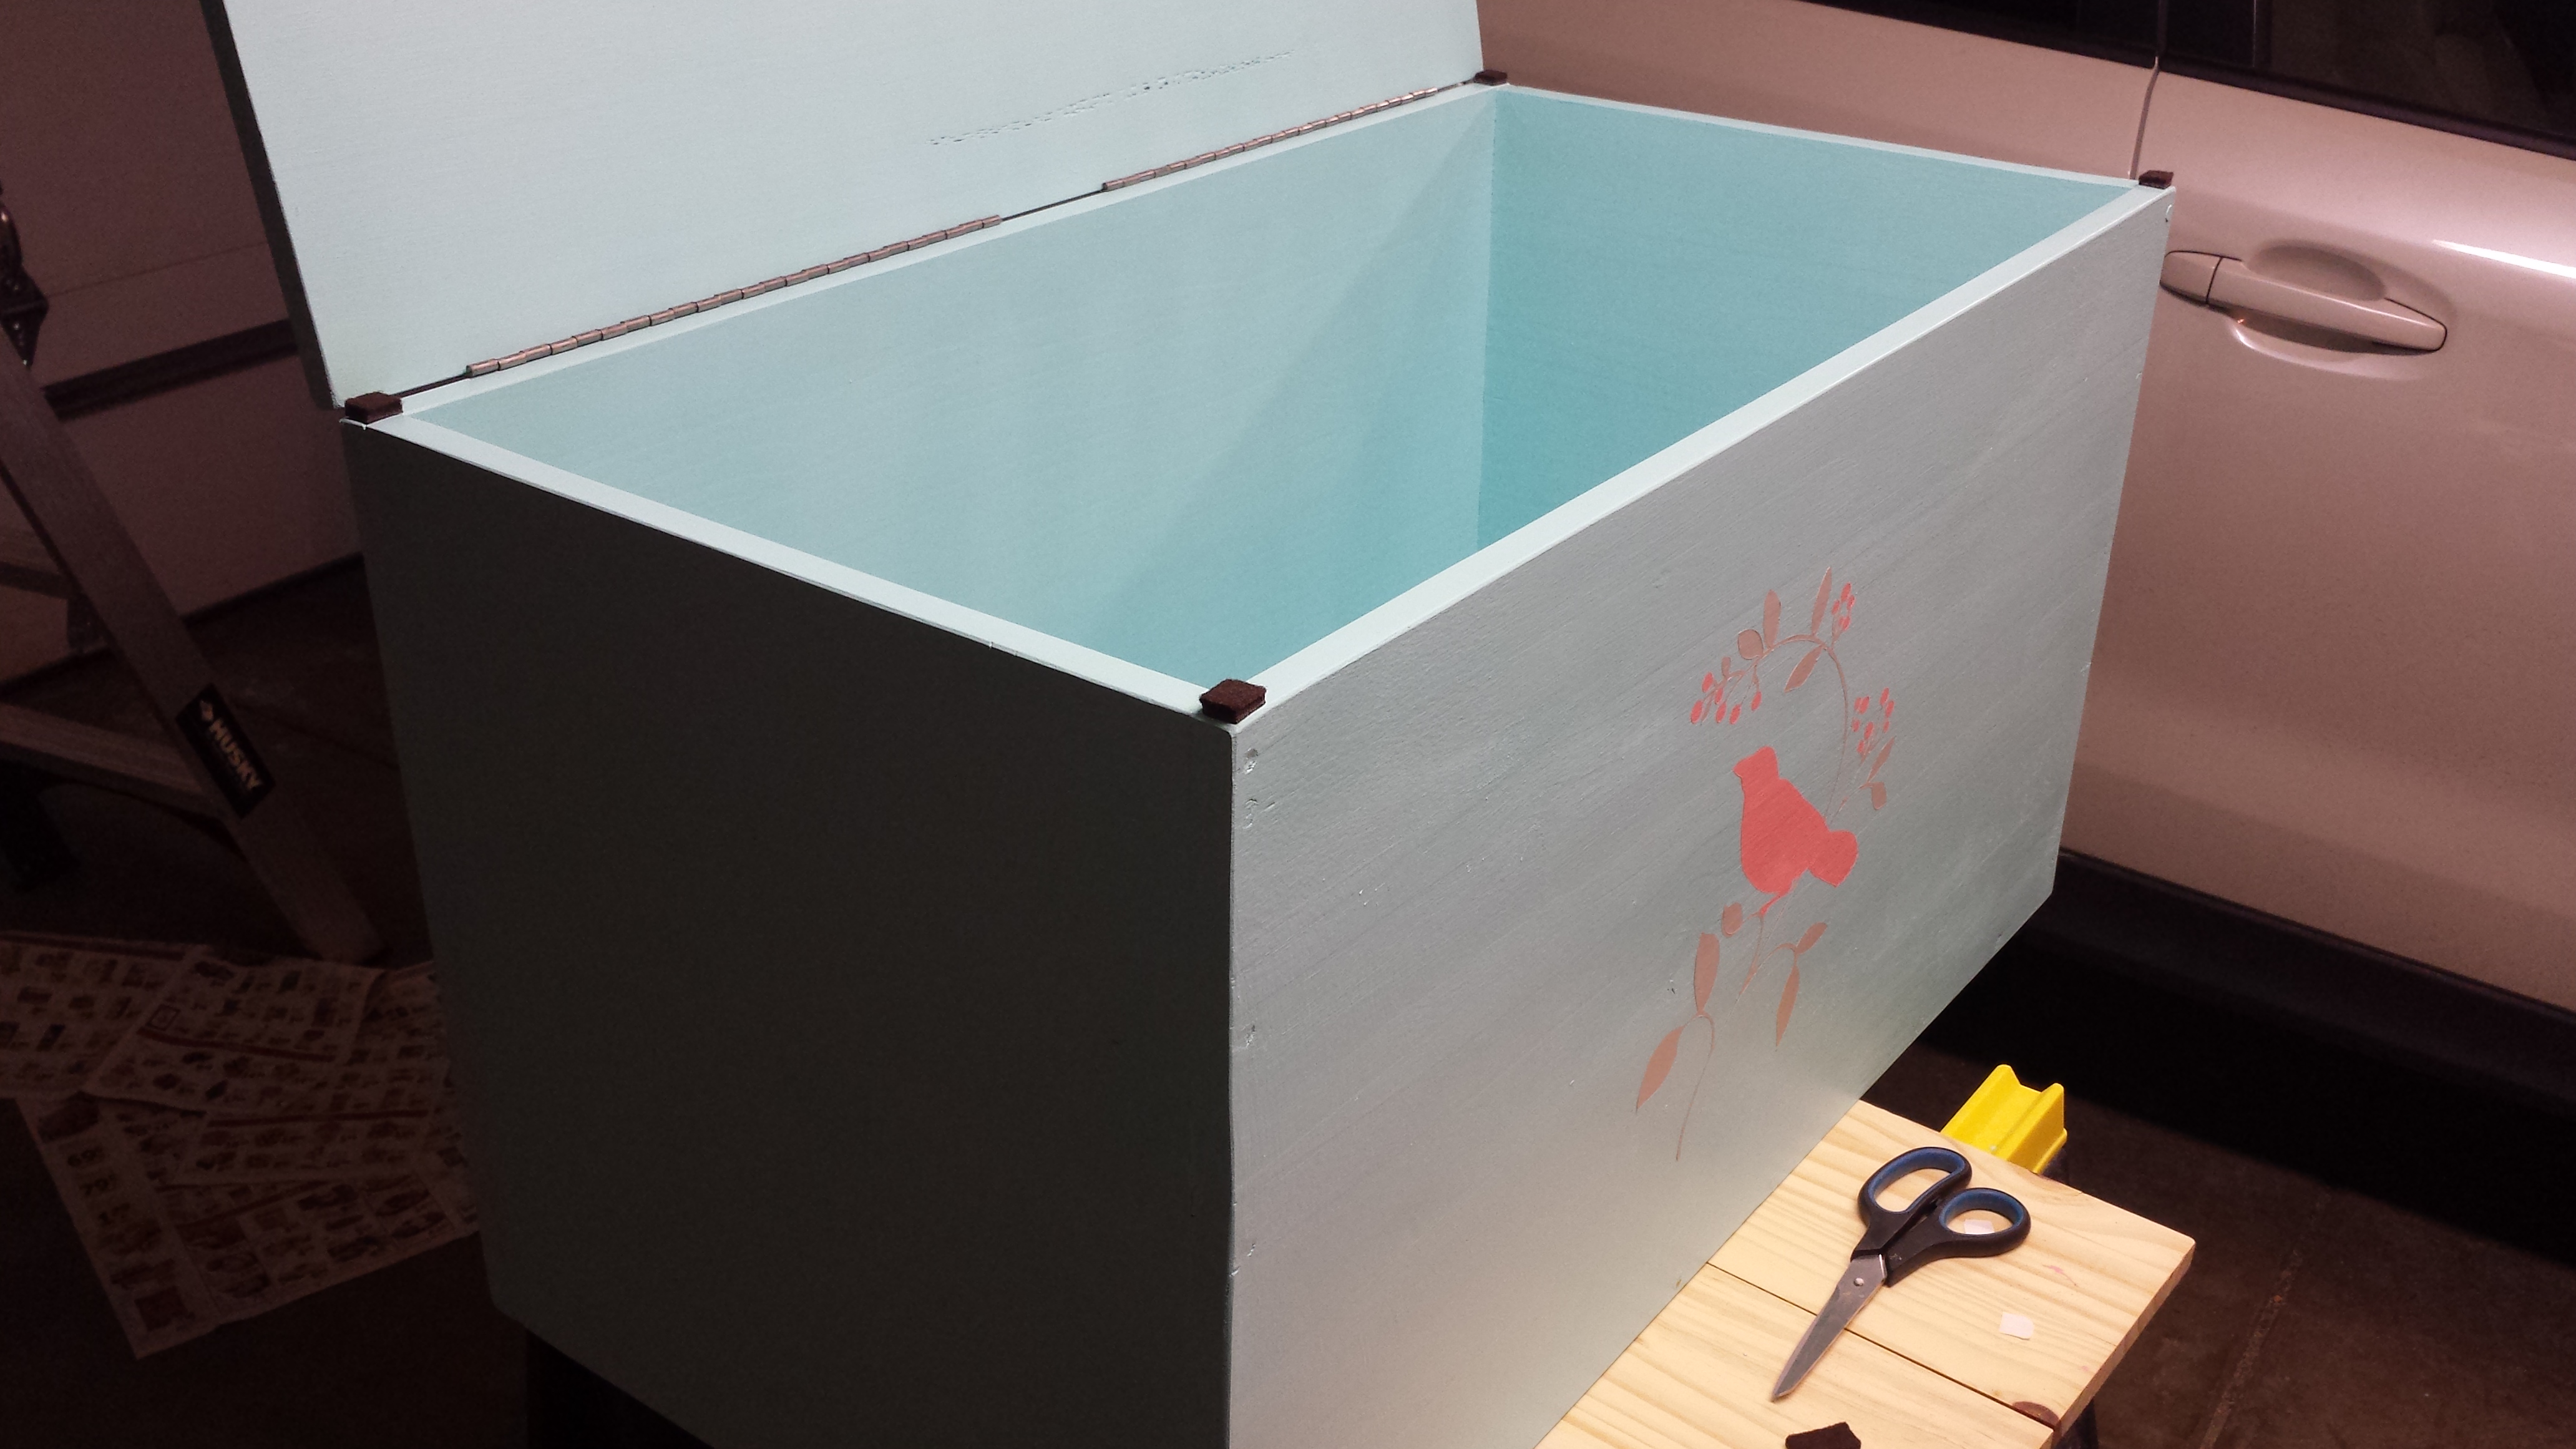
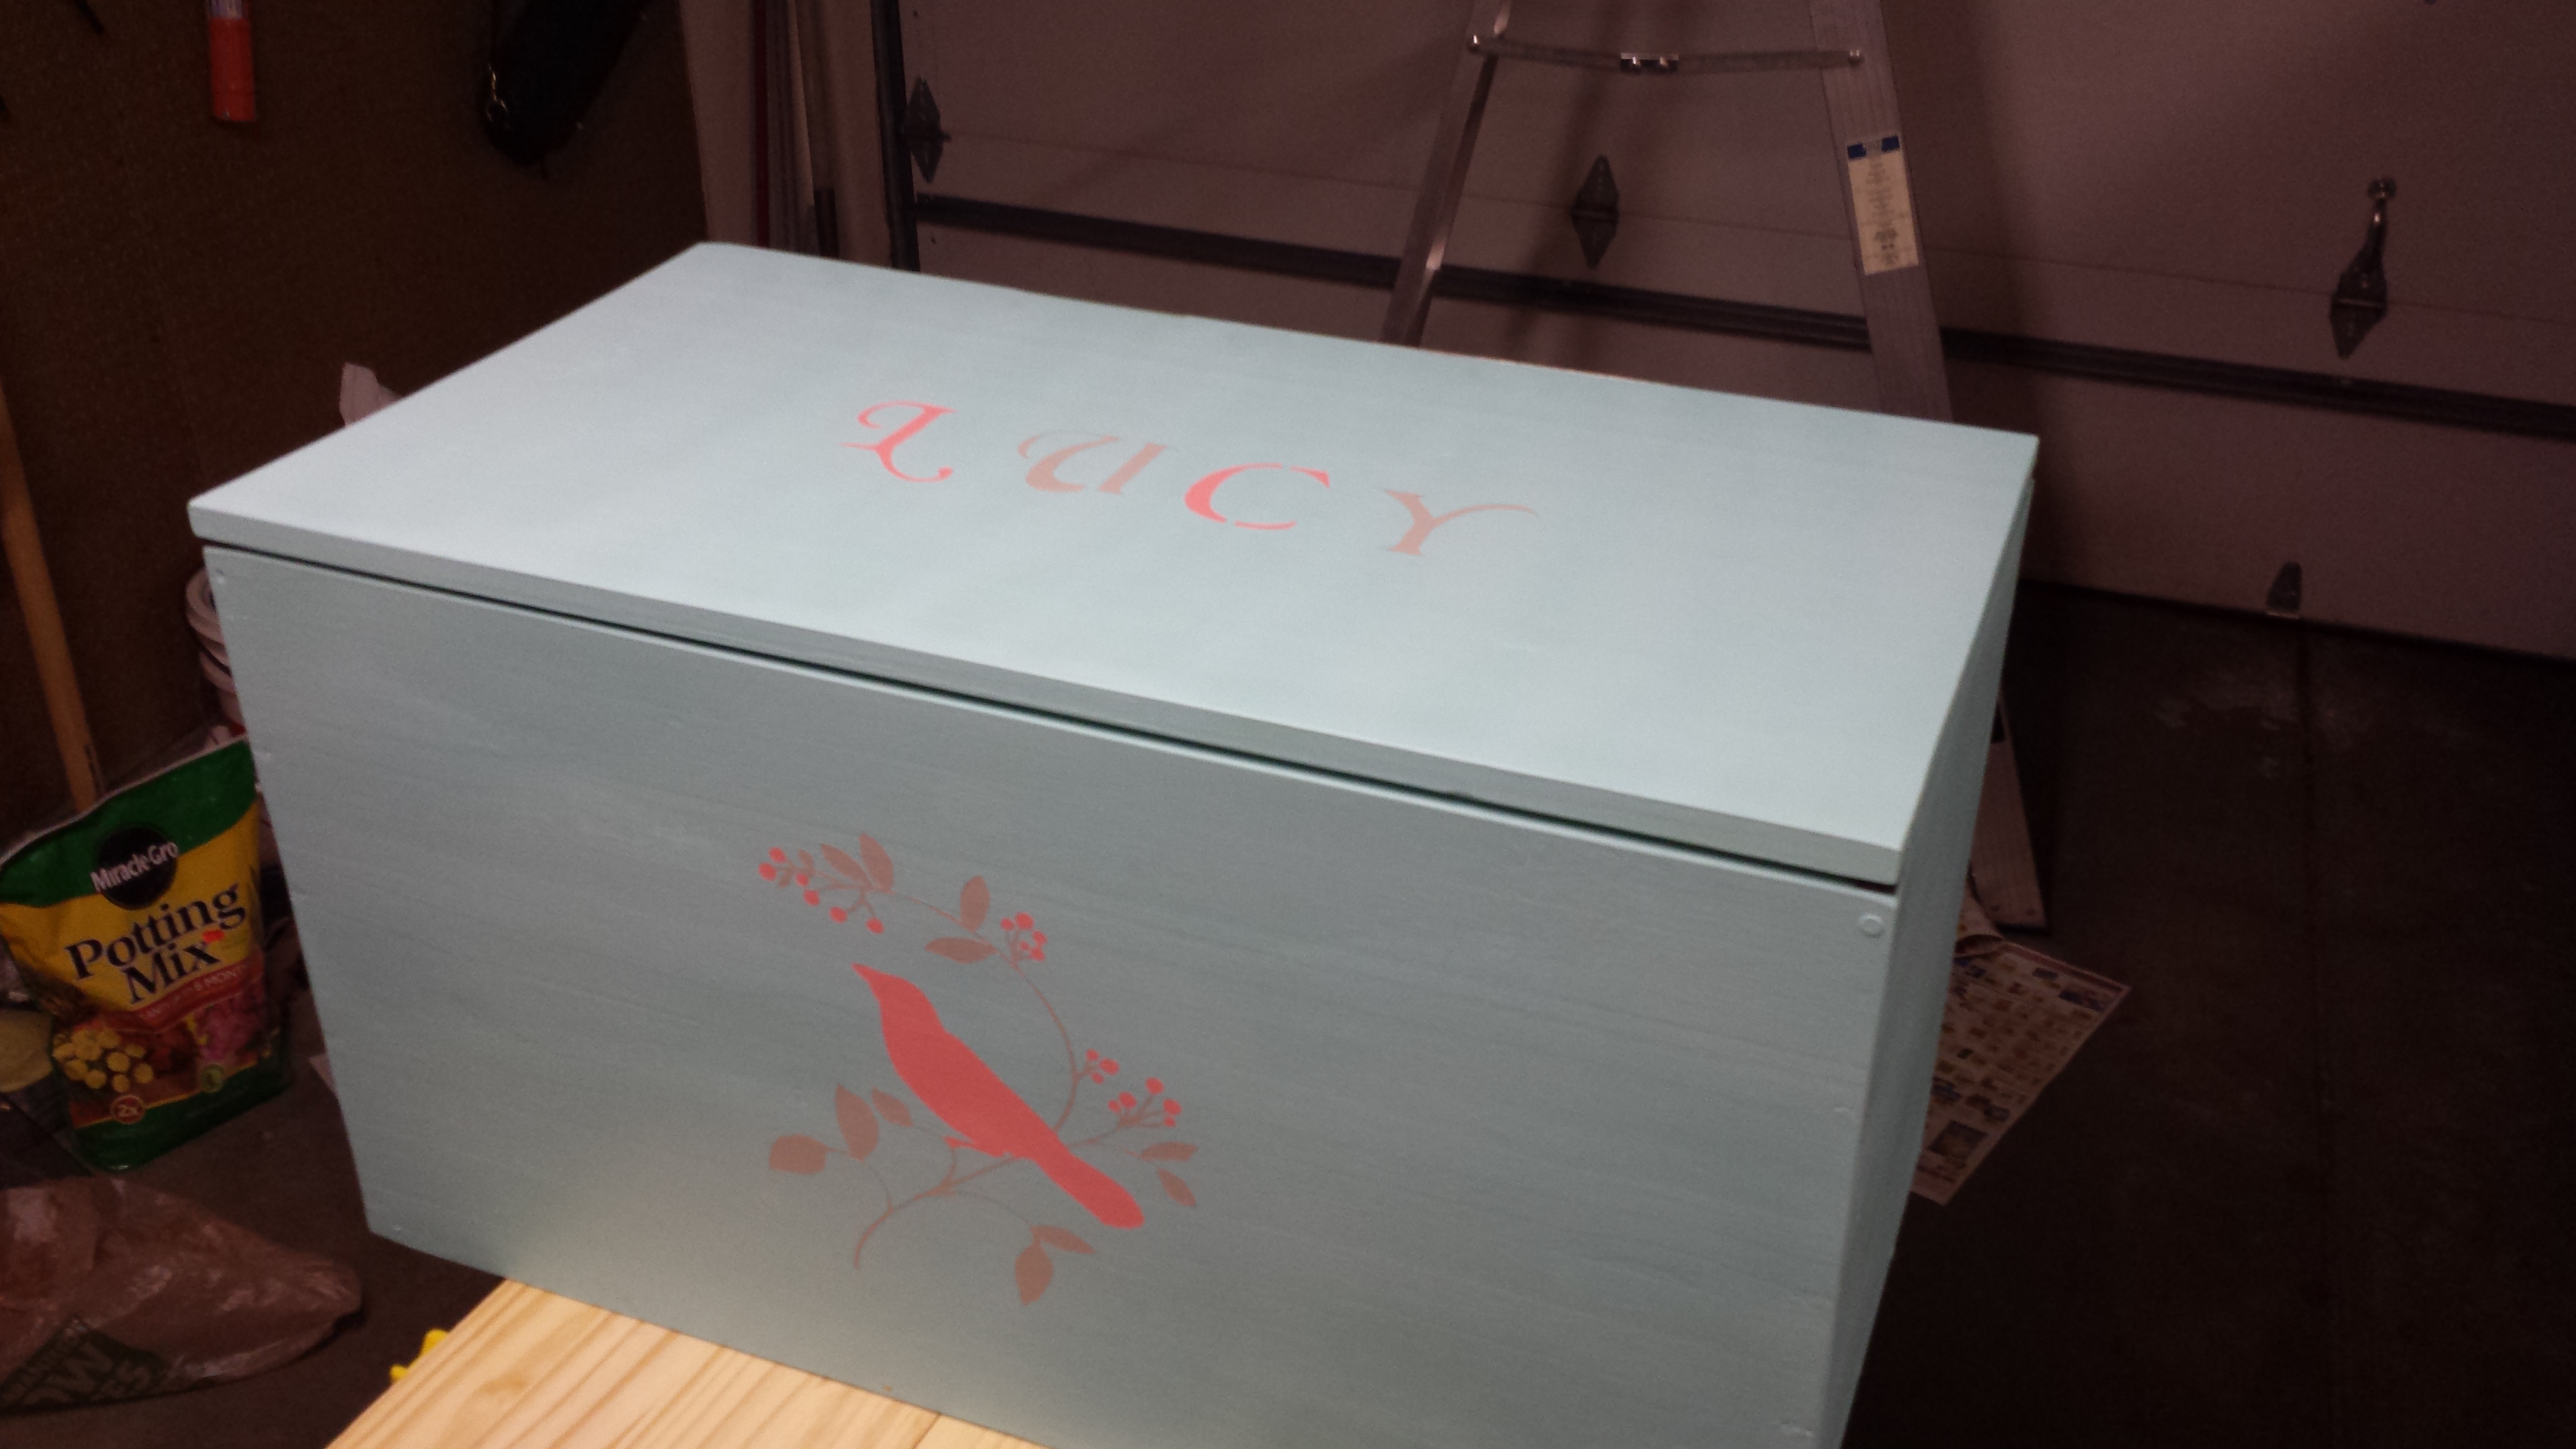
I painted before installing the hinges on purpose. It was much easier to paint without the lid attached. I used a standard interior paint and although I probably could or should have used a primer I had a full gallon of the desired color so I just did two generous coats of paint. Looked great. My wife added a bird design on front and my daughter’s name to the top lid using a stencil in a different color.
Adding the Lid and Hinges
I used two long, continuous hinges to attach the lid. I was really concerned about the beating that the lid might take from a young child AND I had to ensure that the lid would stay open and not slam shut on small fingers. I put the hinge itself on the box in a way that it would not allow the lid to open beyond 45 degrees. I added some small felt pieces (like the ones you use on furniture) on each of the four corners to make the lid set down a little softer. This also raised the lid by 1/4 inch which made it easier to assemble the hinges how I wanted them. (See the image below.)
Here is the finished product:
Comments are closed.